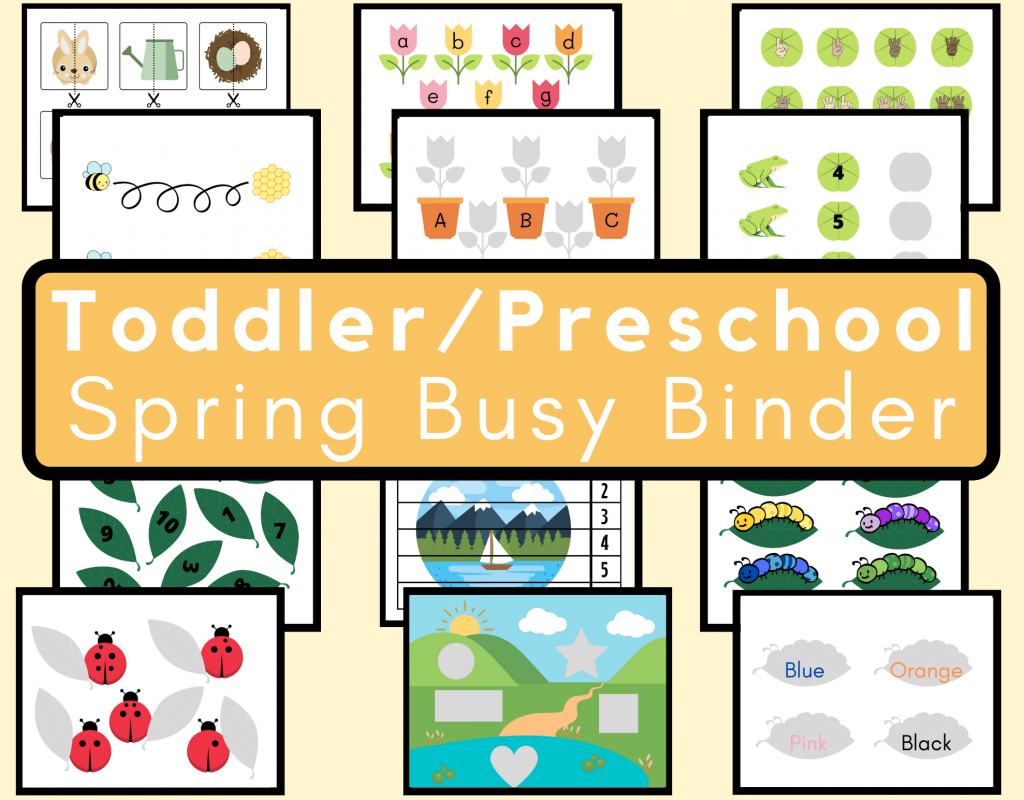
Toddler/Preschool Spring Busy Binder
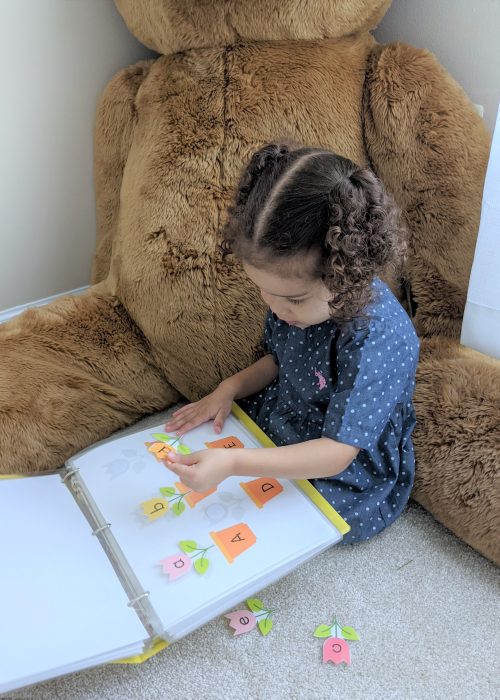
Happy Spring! Today, I am sharing my Spring Busy Binder. Make sure to check out my free printables for additional spring activities. Some of the skills addressed in this binder are uppercase and lowercase letter matching, counting, number recognition, shape and color matching, as well as writing practice.
*This post contains affiliate links. When you click and shop through my links, you’re supporting Autumn Romano Blog at no additional cost to you. As an Amazon Associate I earn from qualifying purchases. Thank you!*
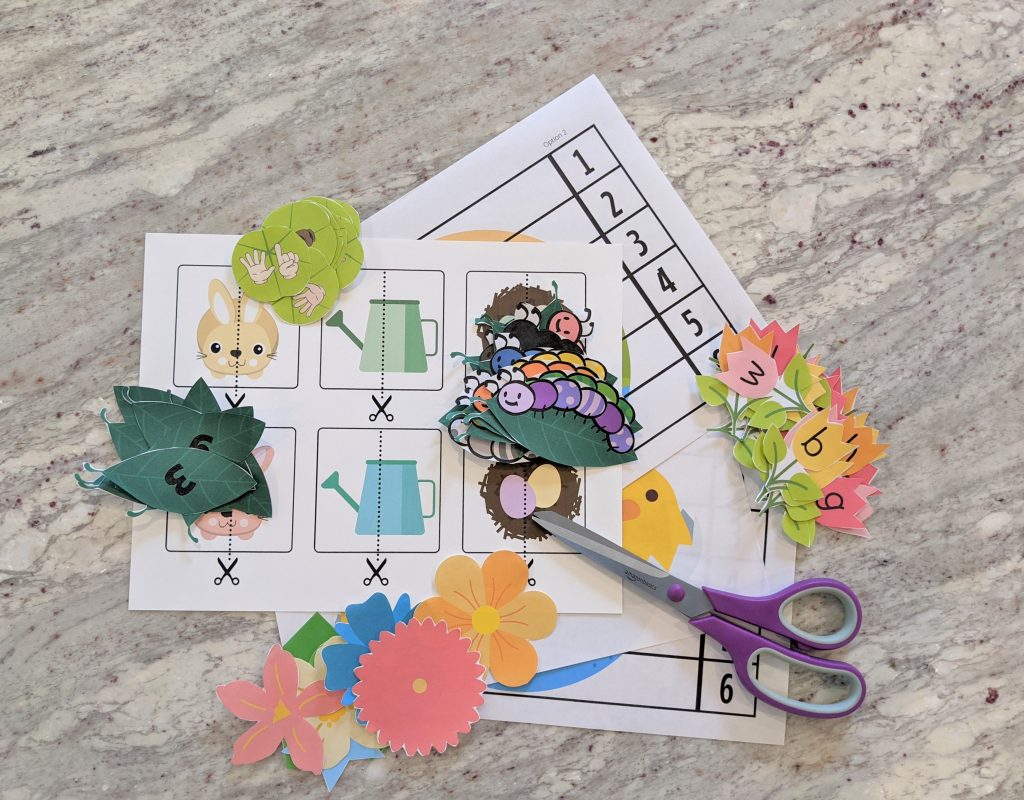
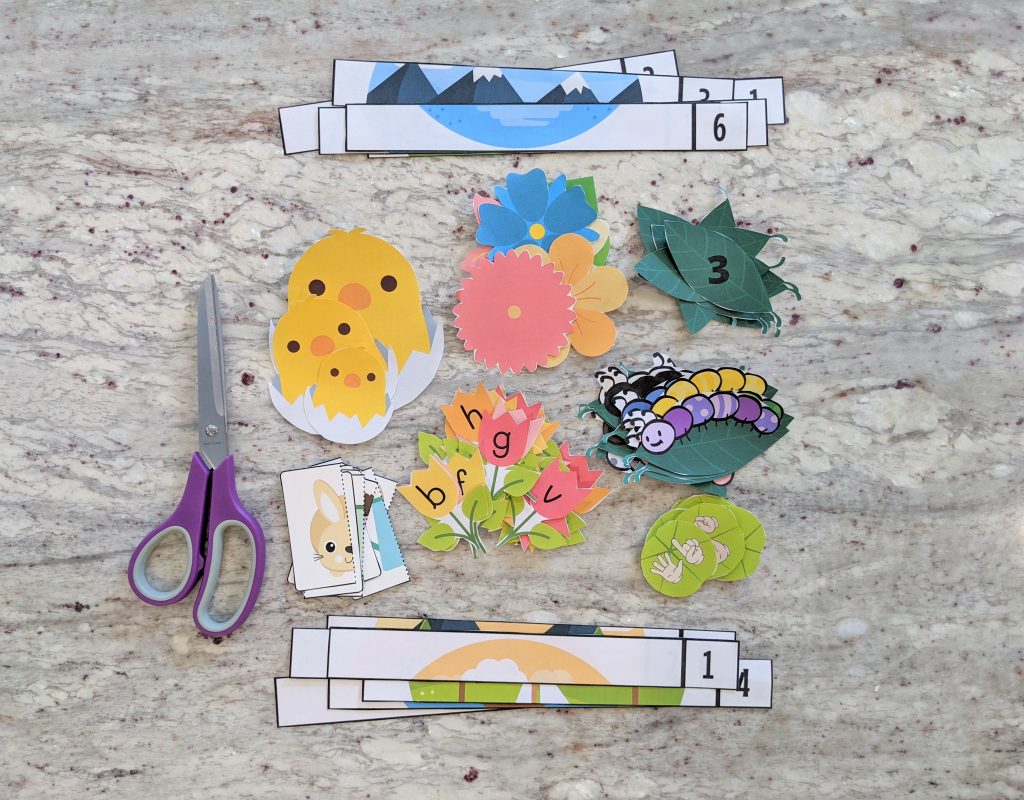
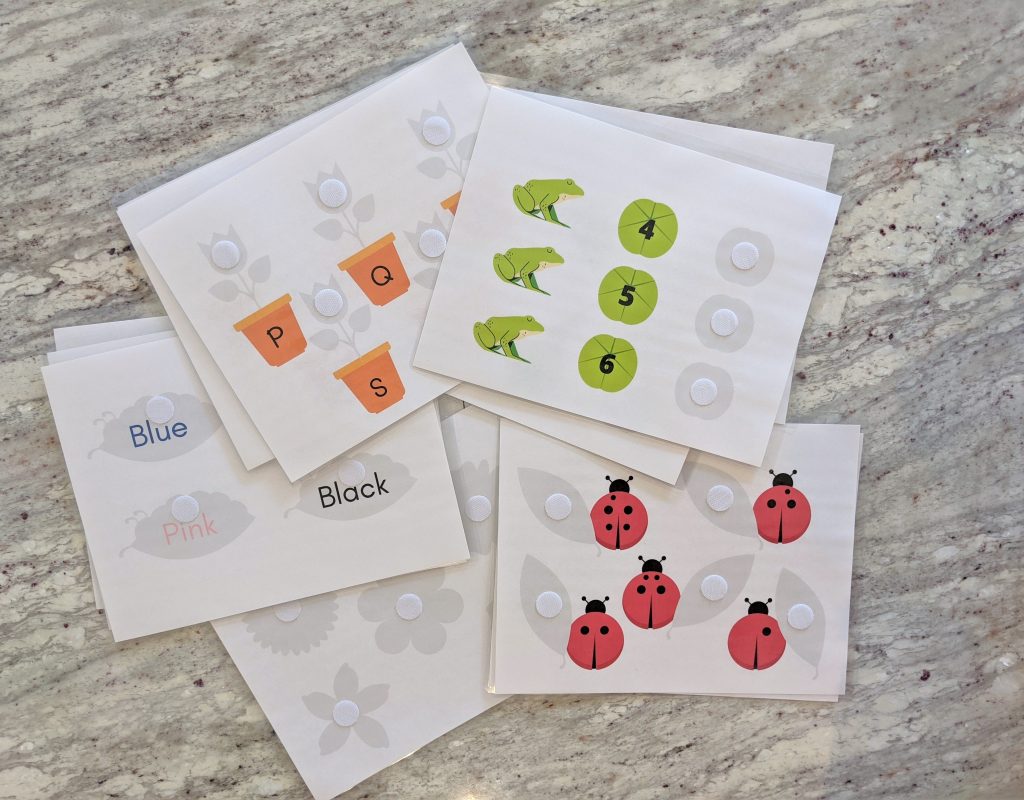
If you have already used the previous busy binders, then you probably already know how to assemble this. If you have not, don’t worry, it’s very simple! Simply print the busy binder pages and cut out the necessary pieces for the pages. If you cut the pieces out before laminating, they will last you a lot longer. It means you cut twice, but it’s worth it! I’ve purchased my laminating sheets from many different stores and have not had any issues using various brands. You must laminate the pages though. Page protectors will not work the same way because they are not sealing. The velcro will just pull at the page protectors. I use this velcro for my busy binders and it works amazingly well and I’ve purchased it more than once. I prefer to stick the hook (scratchy) pieces of the velcro on the page and the loop (soft) pieces of the velcro on the printable pieces that Elani will be handling. After everything is cut and laminated (and cut, again) hole punch the pages and then put them in the binder. I normally use a 1.5″ binder, but I may switch to a 2″ binder because there are more pages in this spring busy binder.
TIPS & TRICKS:
- It is entirely up to you how precisely you cut your more detailed binder pieces. Sometimes, I leave some of the white space because I do not wish to take the time to be super precise (ex: the caterpillars). Other times, I do not. It is up to you.
- I make rounded edges when cutting the laminated pieces to avoid sharp edges.
- I always make sure to align the busy binder pages toward the bottom of the laminating sheet so I have plenty of space at the top to hole punch.
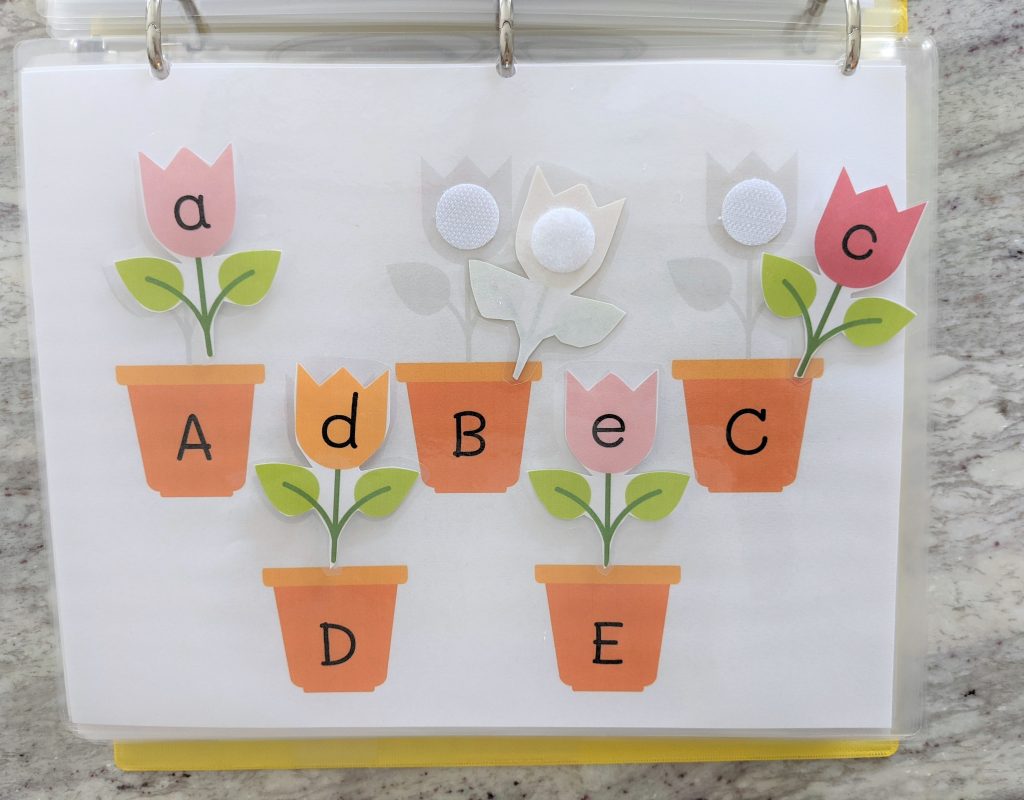
The alphabet pages are great for matching lowercase and uppercase letters, but you can also easily practice letter sounds and alphabetical order. I find that it is so easy to find things that have uppercase letters, but children are going to see lowercase letters more in books and it is important that they are exposed to those early on. These cute flowers are a fun way to practice both!
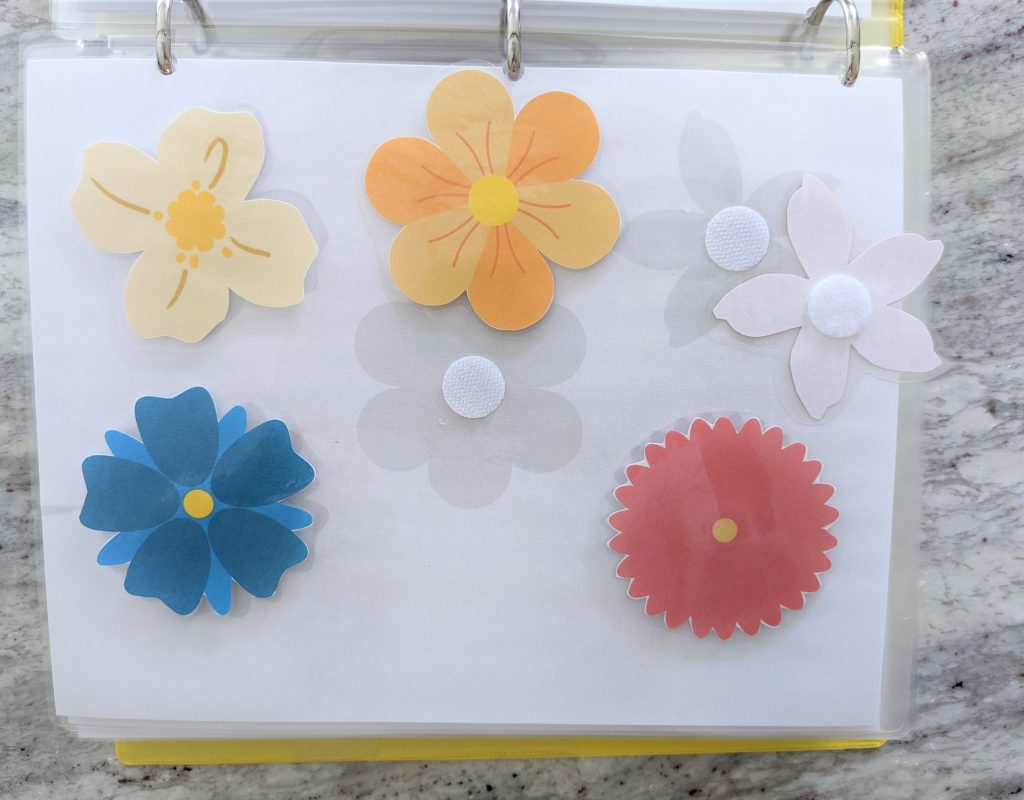
The flower matching pages allow for pairing the correct flowers based on shape, while the chick matching pages allow pairing based on the size of the chick. This is a good opportunity to also work on sizing words, such as small, medium, and large.
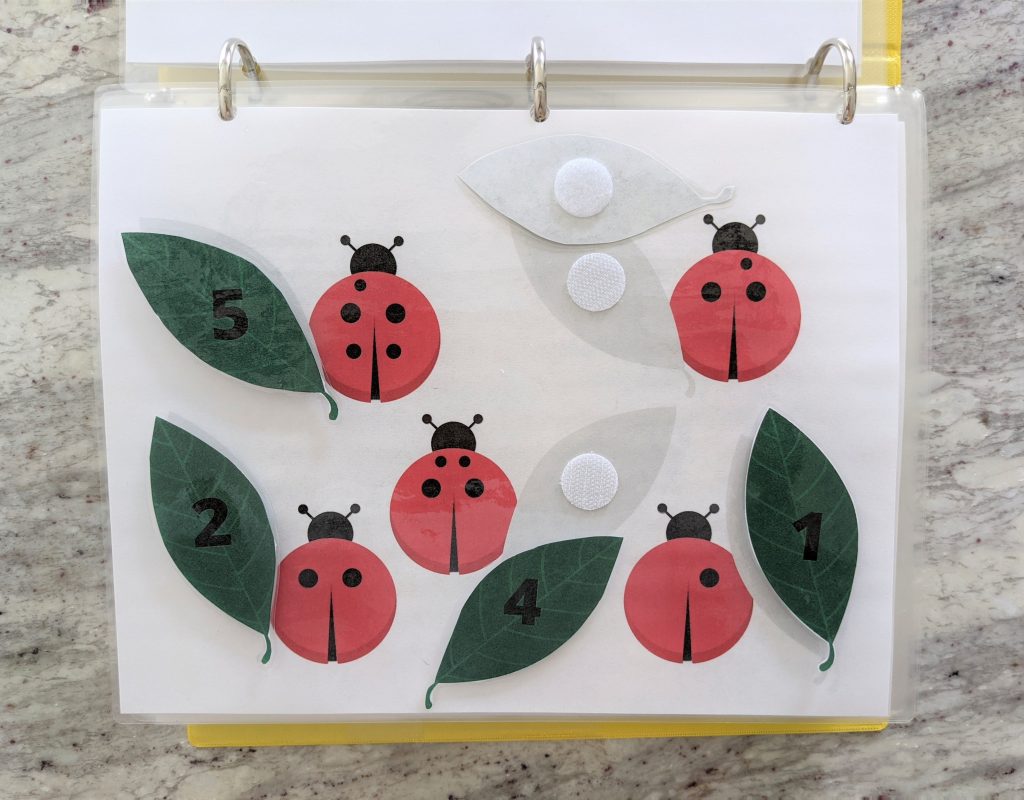
The ladybug pages focus on the numbers 1-10. The numbers can also be used on their own to practice numerical order. The lily pad pages model counting with fingers. This provides an opportunity to count the fingers in the picture and to count on one’s own fingers.
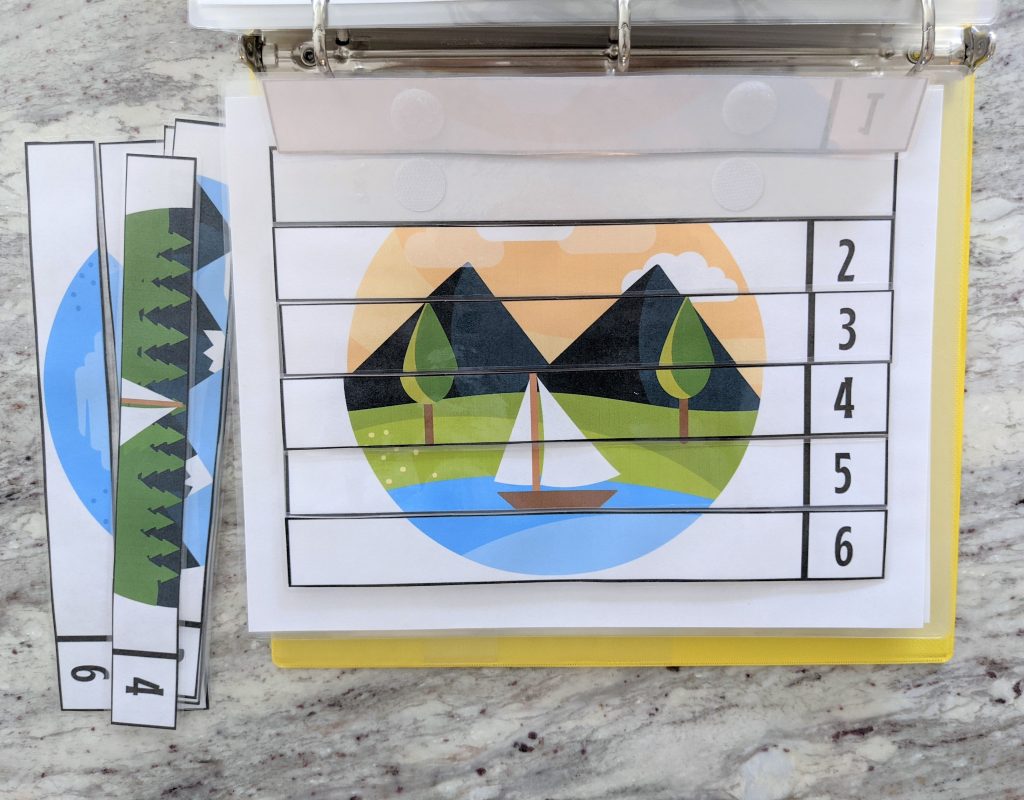
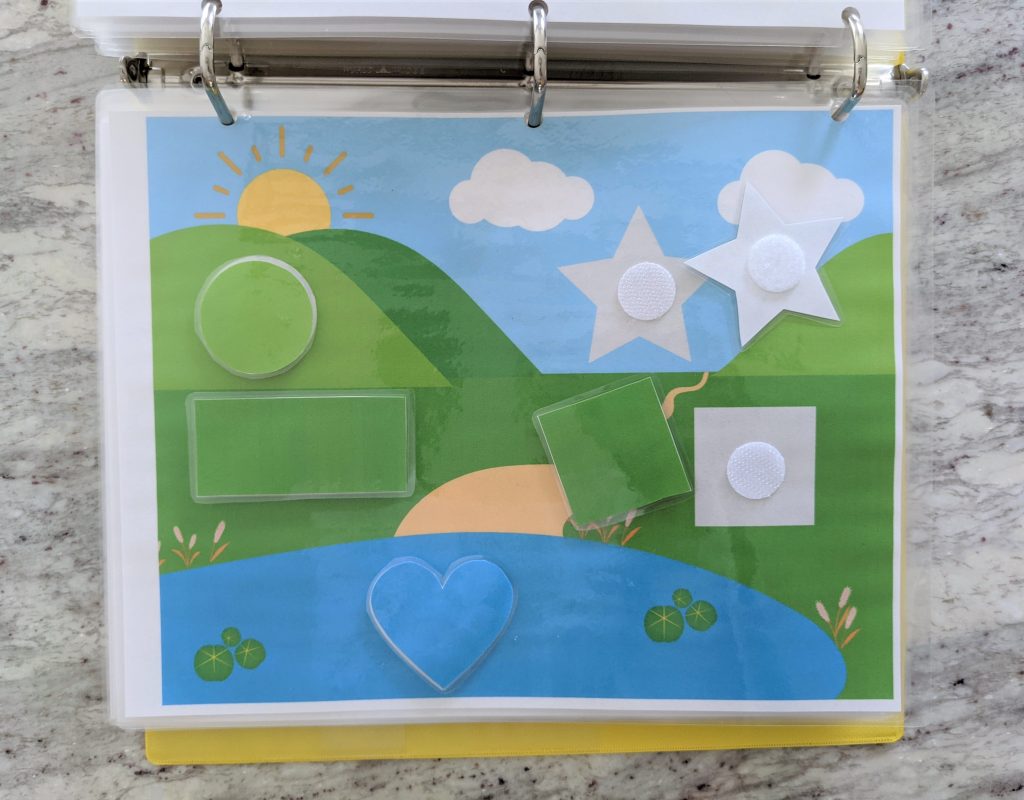
The spring scenery pages are two different types of puzzles. The numbers on the lake puzzles can assist your child in assembly. For the shape puzzle, the colors can help to correctly position the shapes on the puzzle.
Note: I find it easier to put the hook velcro dots on the lake puzzle page and then place the loop velcro dots right on top. Then I put the individual number strips on top so they line up correctly.
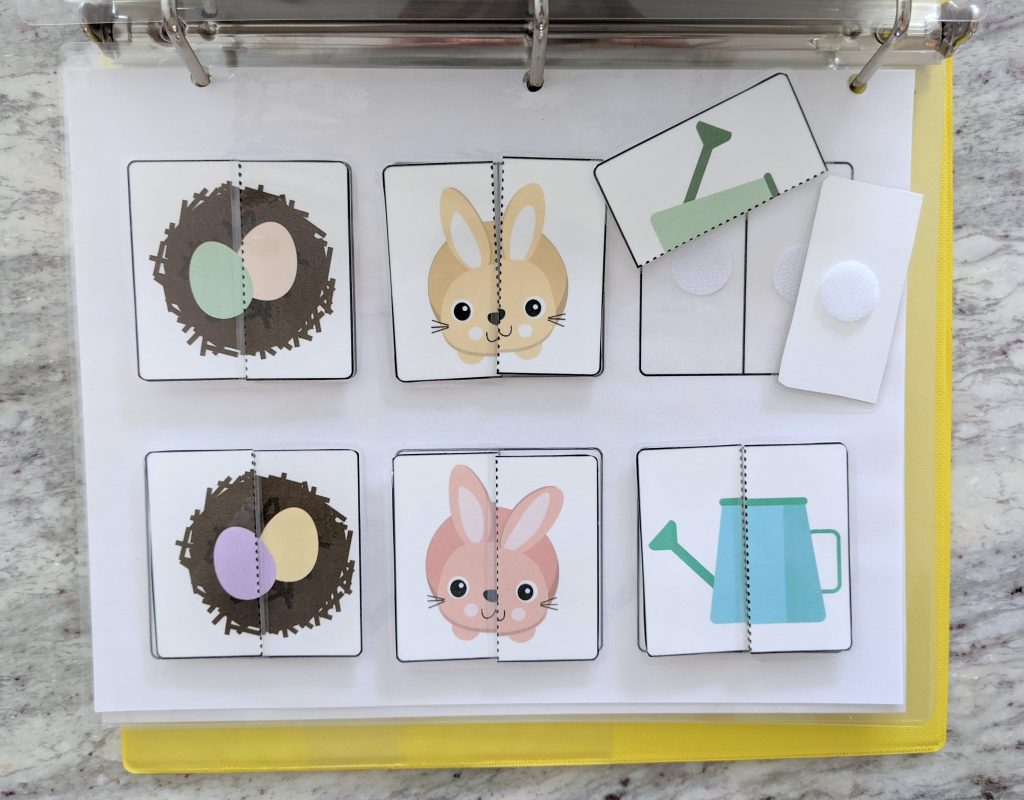
Another puzzle that I included in this binder is this two-piece puzzle with spring items. The colors vary slightly for an added challenge. Puzzles are currently one of Elani’s favorite things, so I decided to include a few different types in this binder.
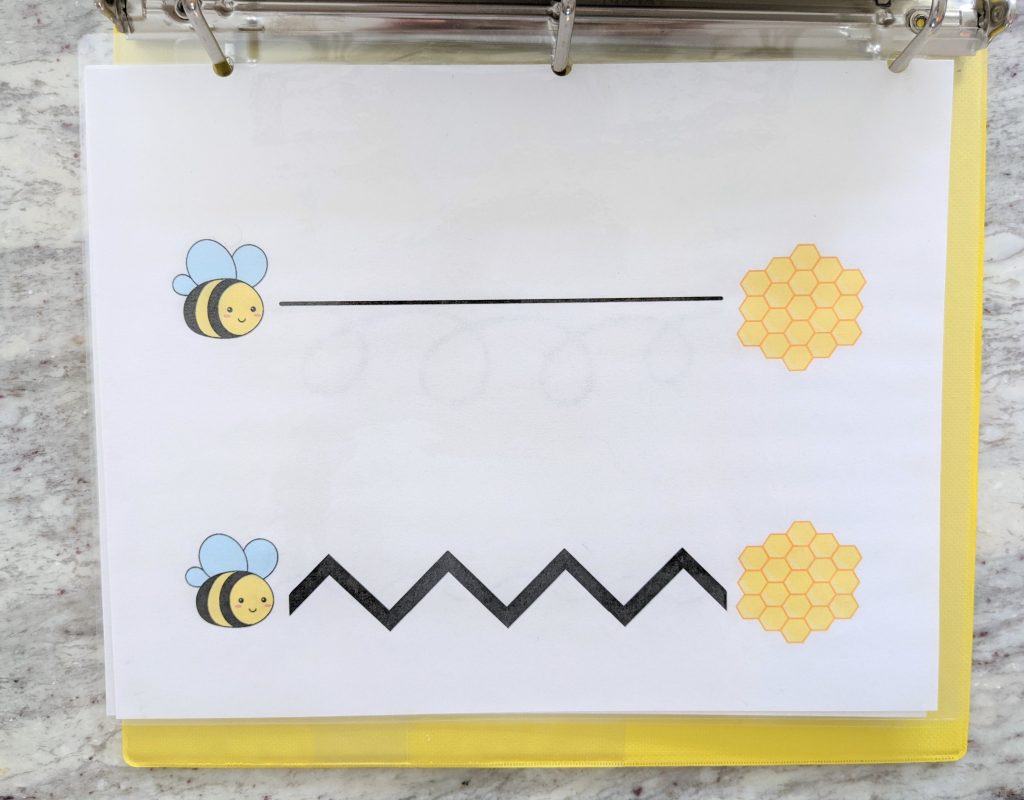
These tracing pages are great for fine motor skills. I use something similar to this binder pocket to keep a dry erase marker and tissue for Elani to use for tracing and erasing.
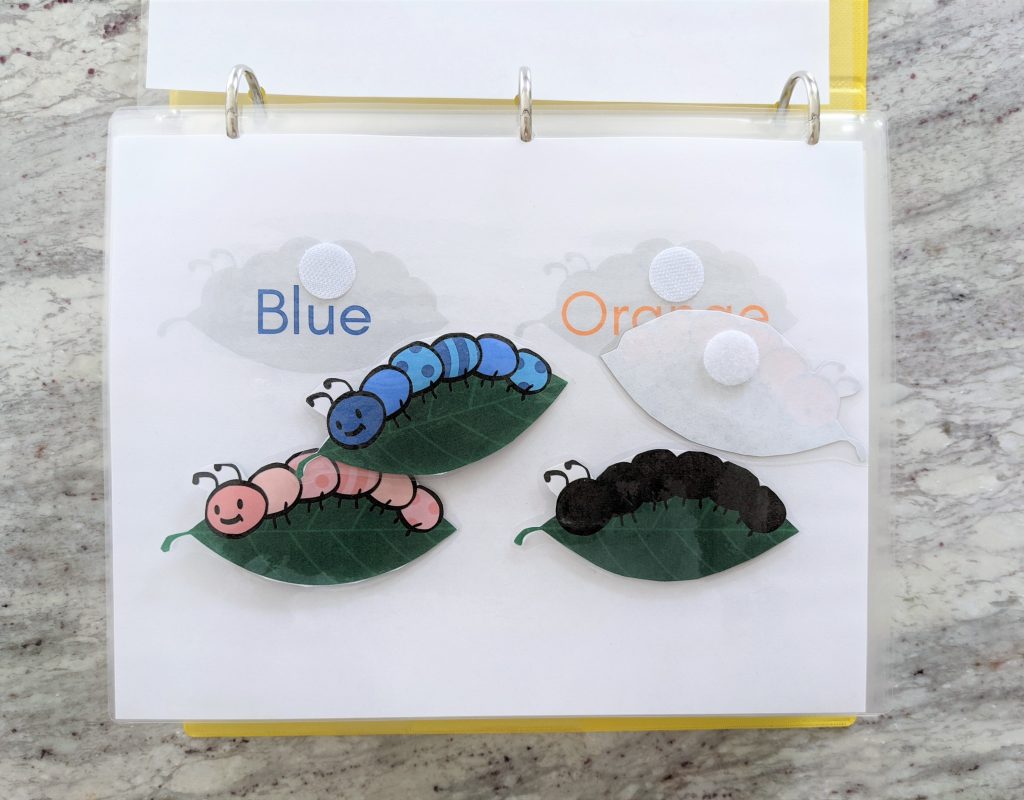
The caterpillar pages are meant for working on color identification. You can also use the caterpillars without the binder pages to discuss color mixing (red+yellow=orange).
Note: I found it easier to put the hook valcro dots on the caterpillar page and then place the loop velcro dots right on top. Then I put the individual caterpillar pieces on top so they lined up correctly.
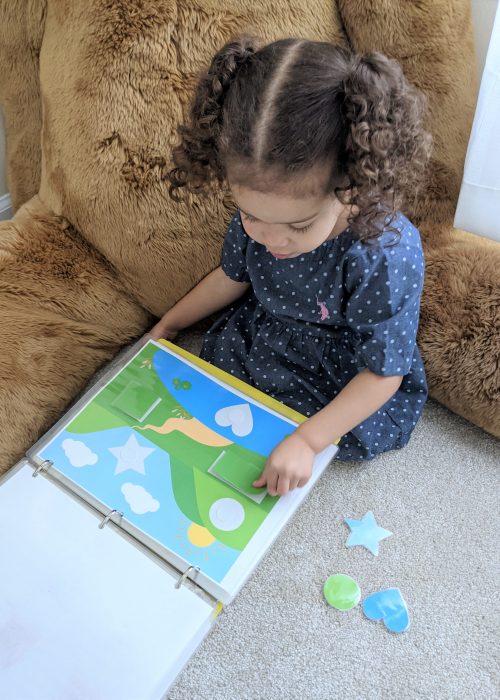
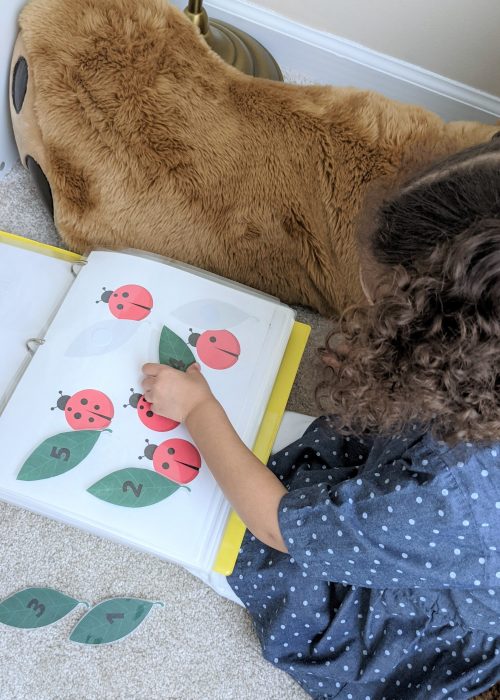
If you have any questions about the Spring Busy Binder, feel free to reach out. I absolutely love making these and will be revamping my summer binder. It was the first busy binder I’ve ever made so I’ve learned so much since then!

You May Also Like
Tips for Weaning After Extended Breastfeeding
April 17, 2023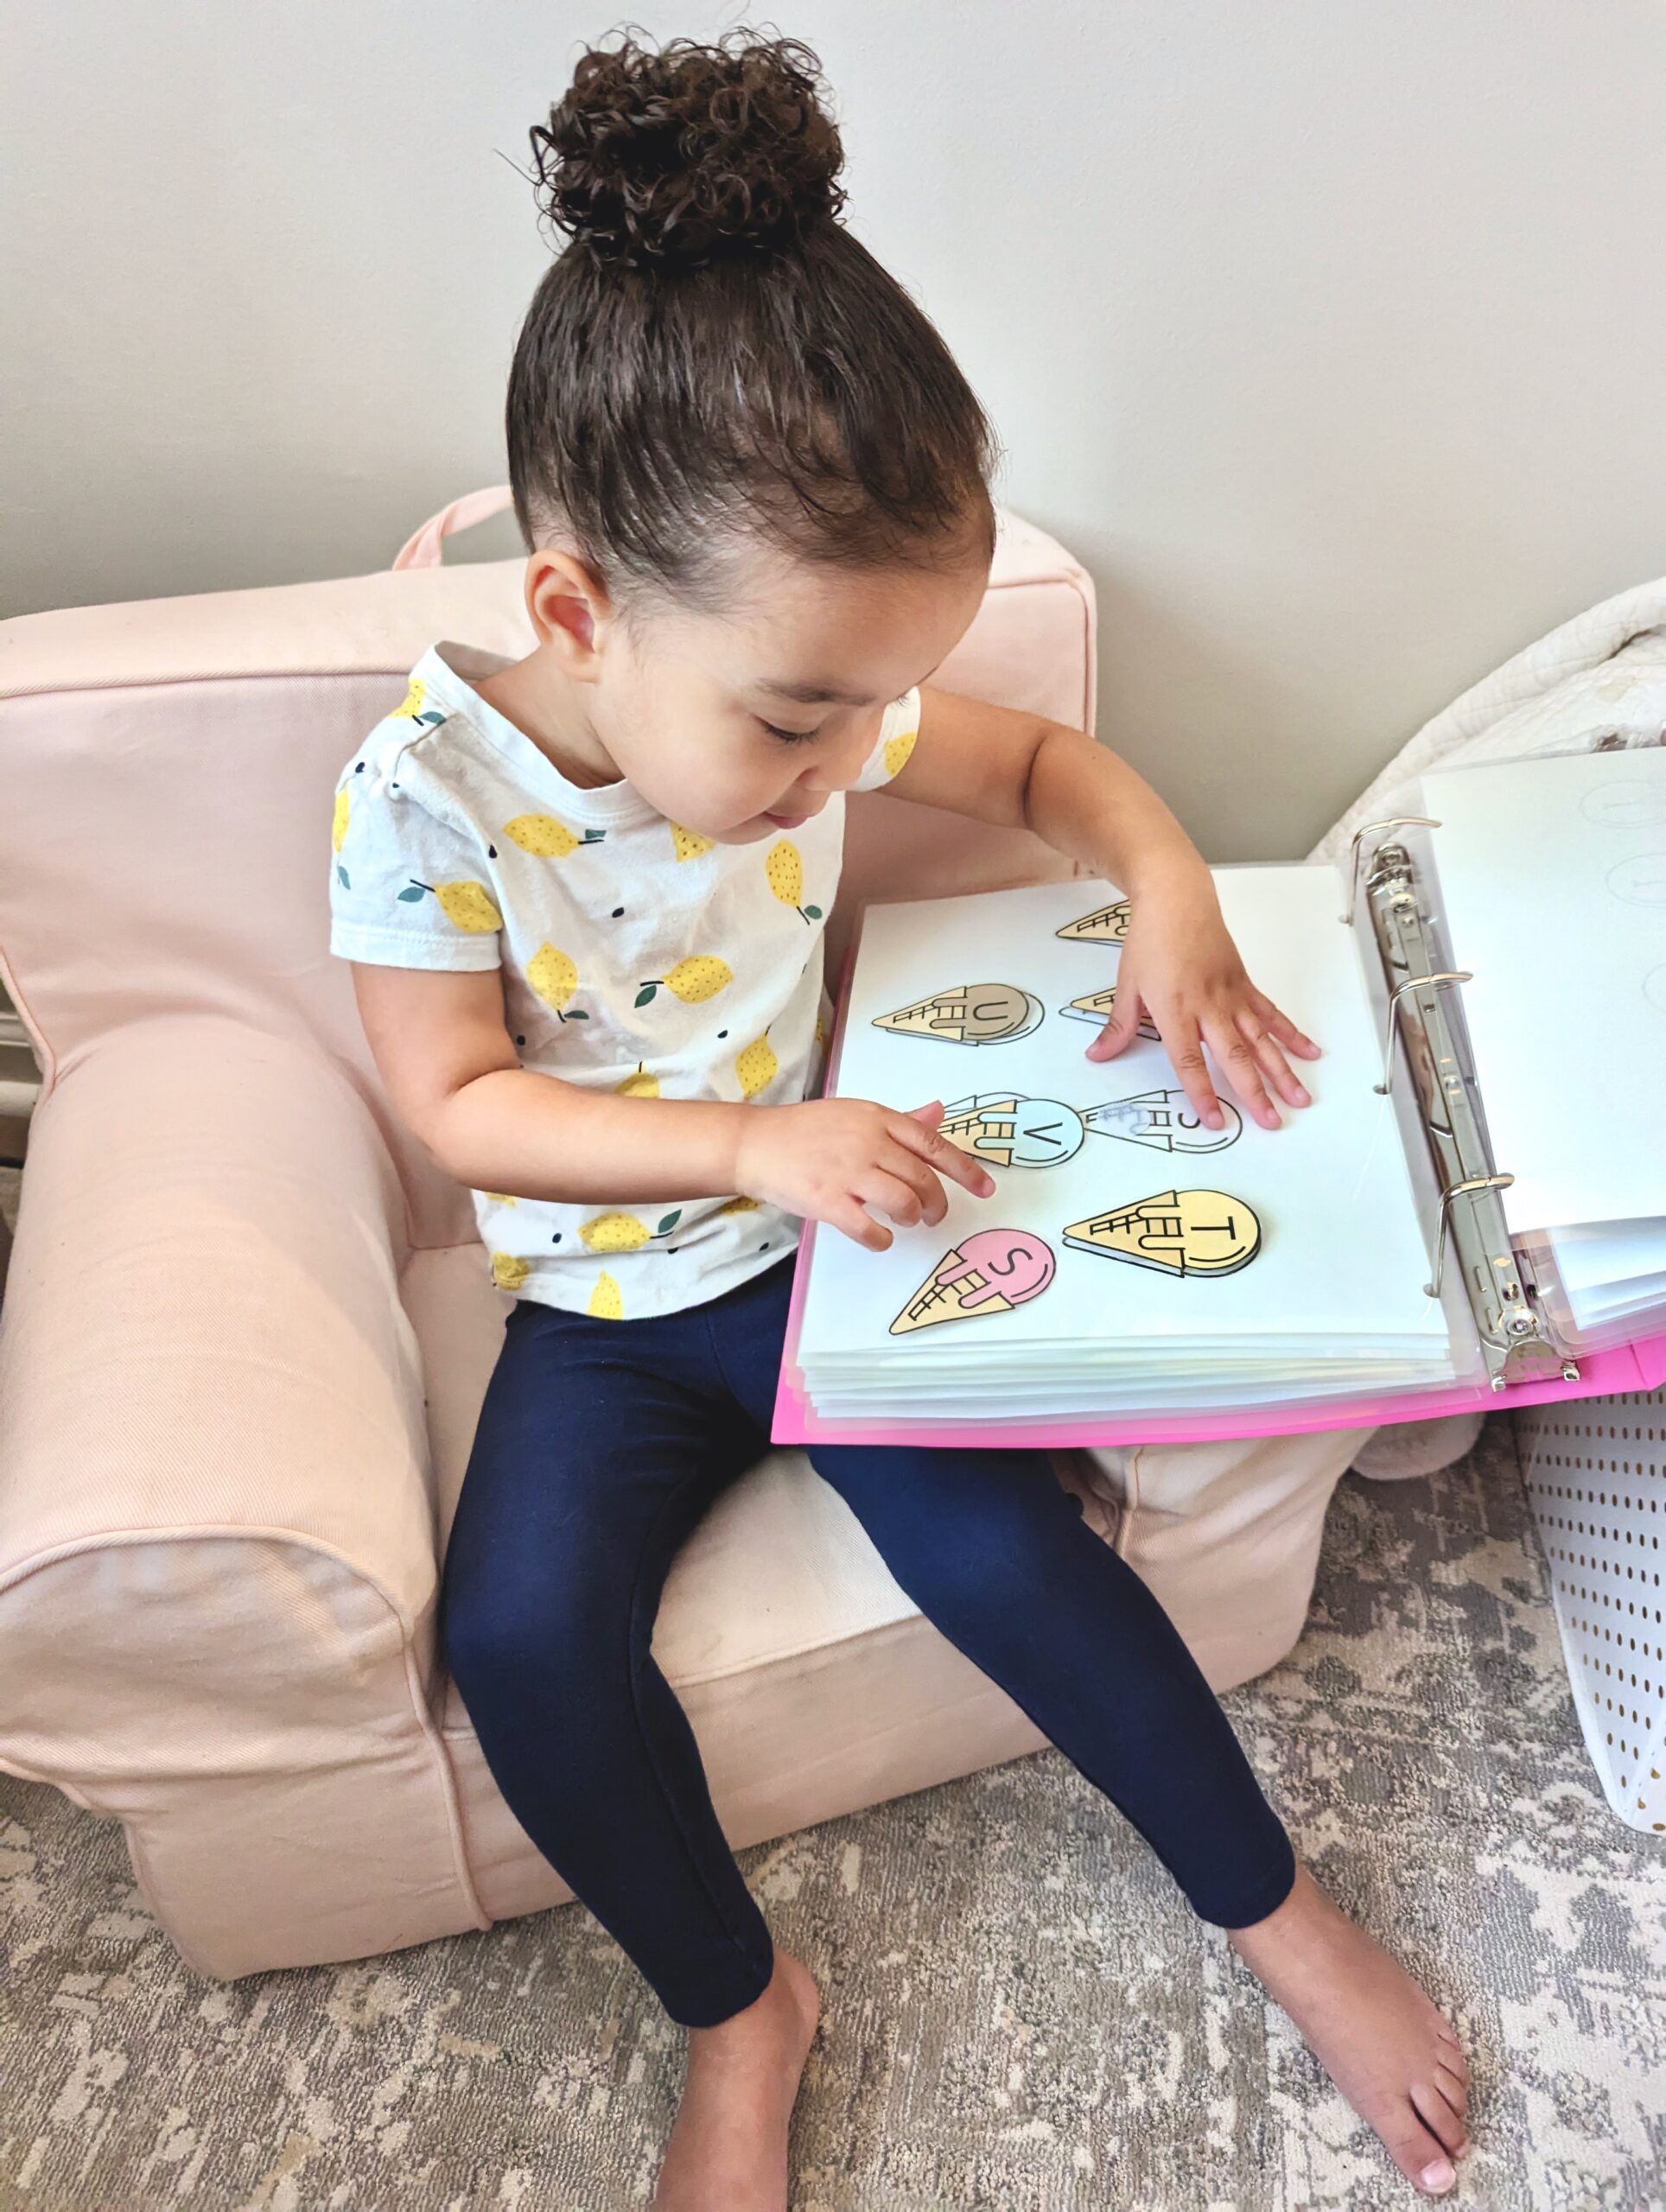
Toddler/Preschool Summer Busy Binder
June 1, 2023
