DIY Maternity Photoshoot
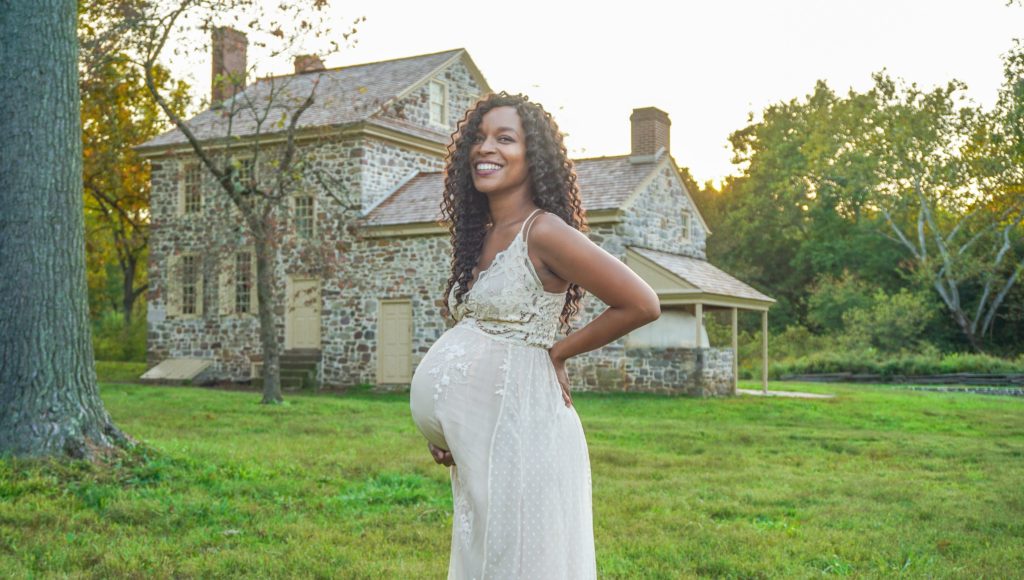
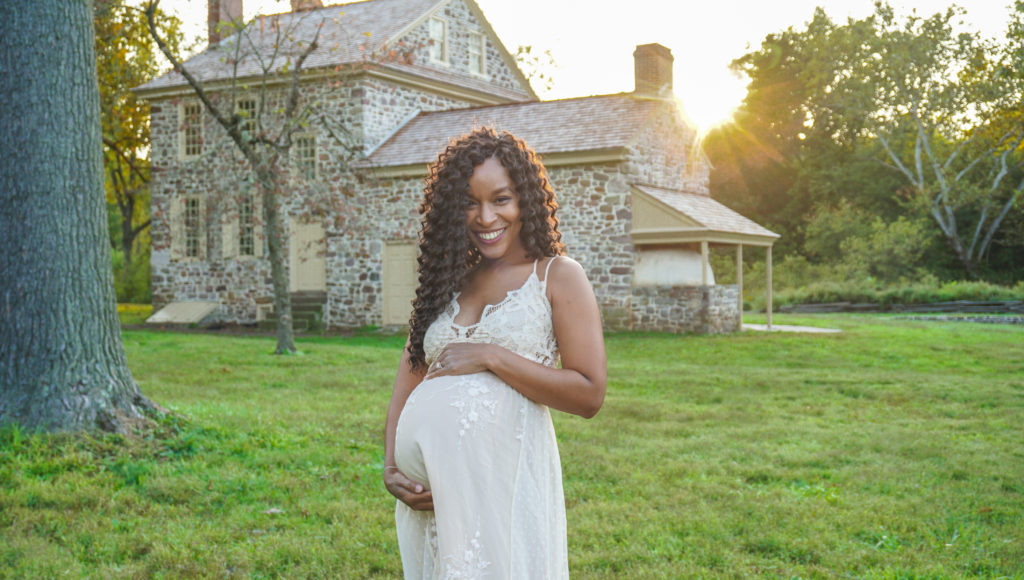
The first time that I was pregnant, I didn’t plan ahead very much for my maternity photos. I still loved the way that they turned out, but I knew that I wanted to plan ahead more this time around. I love the way that the photos turned out and that we saved money by doing them ourselves. I have a few tips for anyone that would like to shoot their own maternity photos as well. I am no photographer, and neither is my husband, but I figure that most people who are trying to DIY their photos are not. Hopefully, I can help you out!
*This post contains affiliate links. When you click and shop through my links, you’re supporting Autumn Romano Blog at no additional cost to you. Thank you!*
Find Inspiration
I made sure to go on Pinterest and look through photos. I didn’t overwhelm myself by saving a ton, just a few specific poses that I wanted to try. Feel free to follow me on Pinterest and see what I pinned. You can also get ideas for outfits, hair, makeup, and locations through Pinterest. I think it’s a great spot for inspiration!
Plan Your Looks
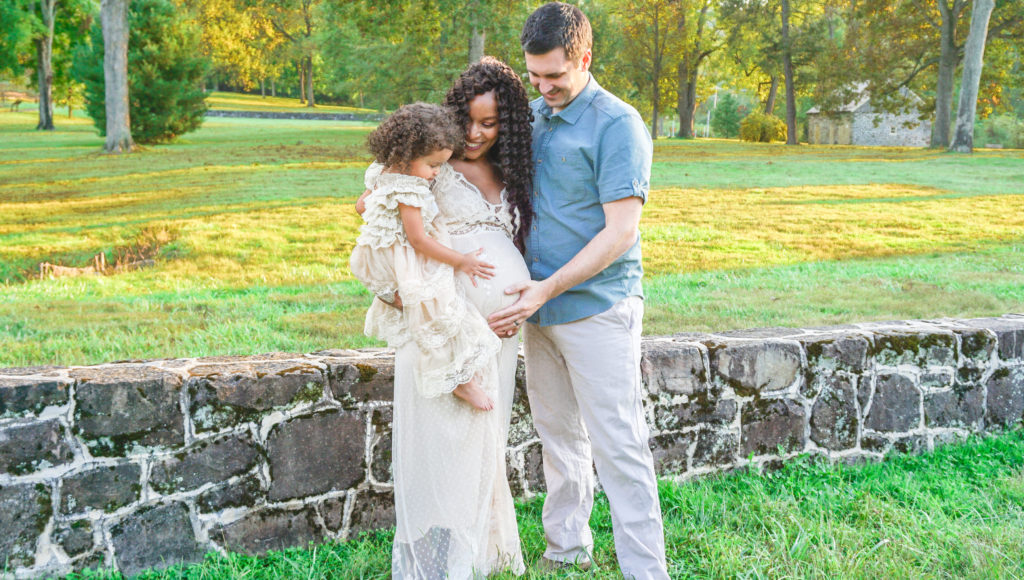
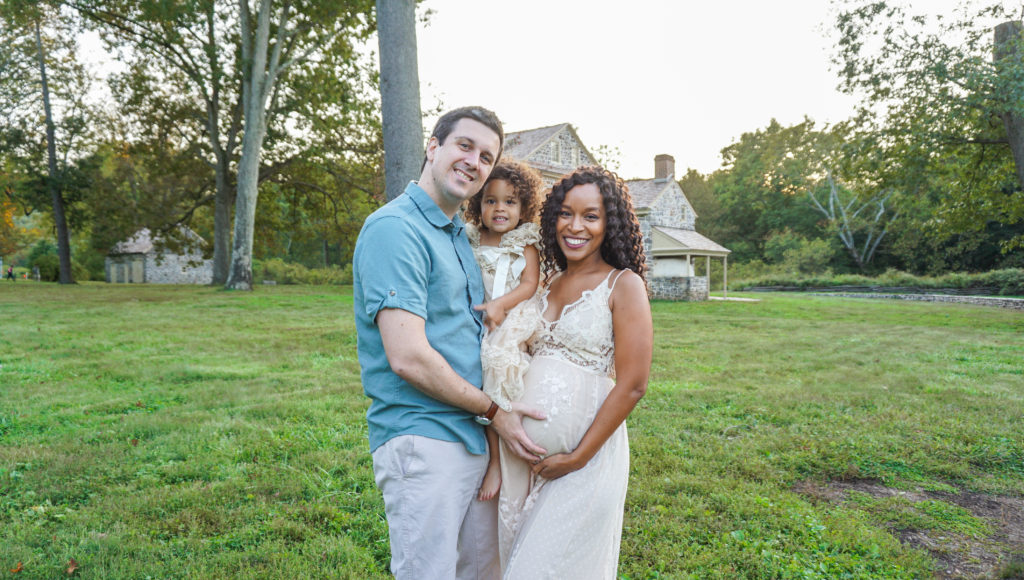
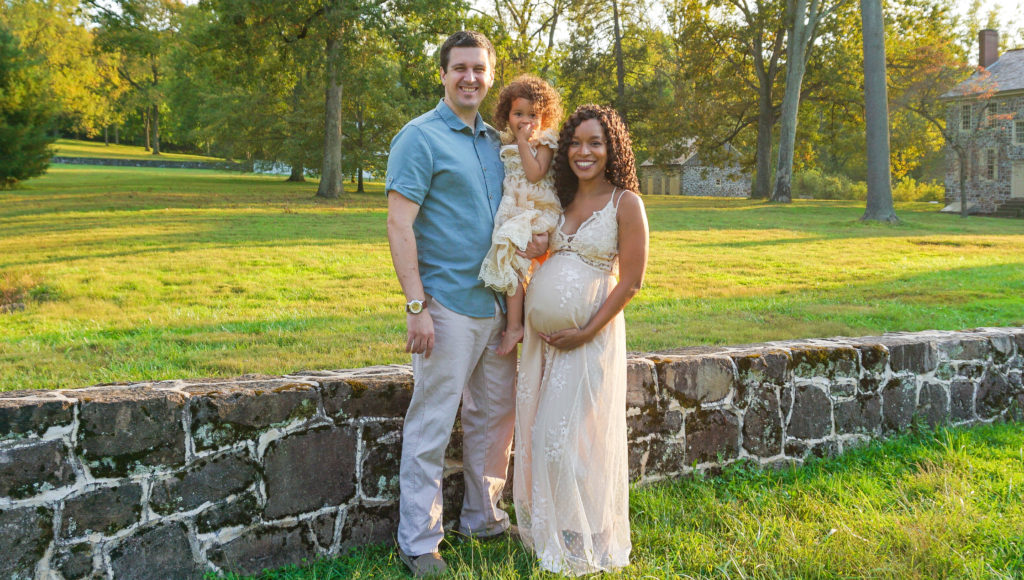
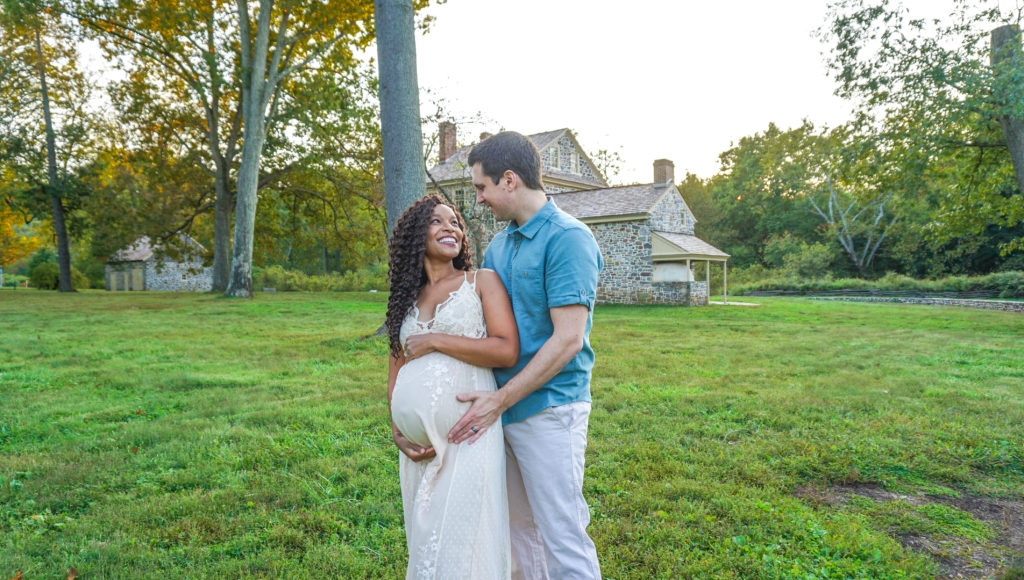
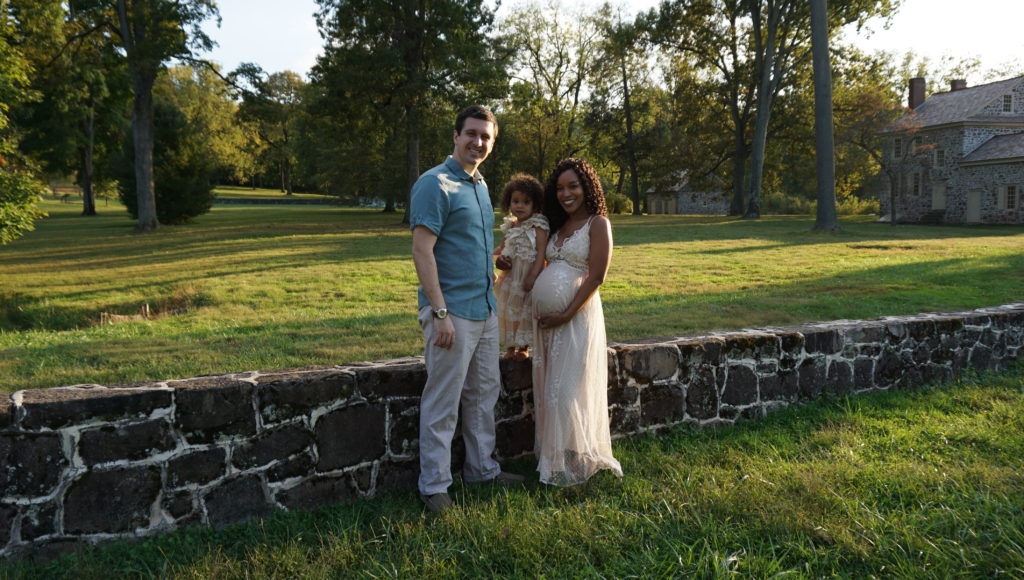
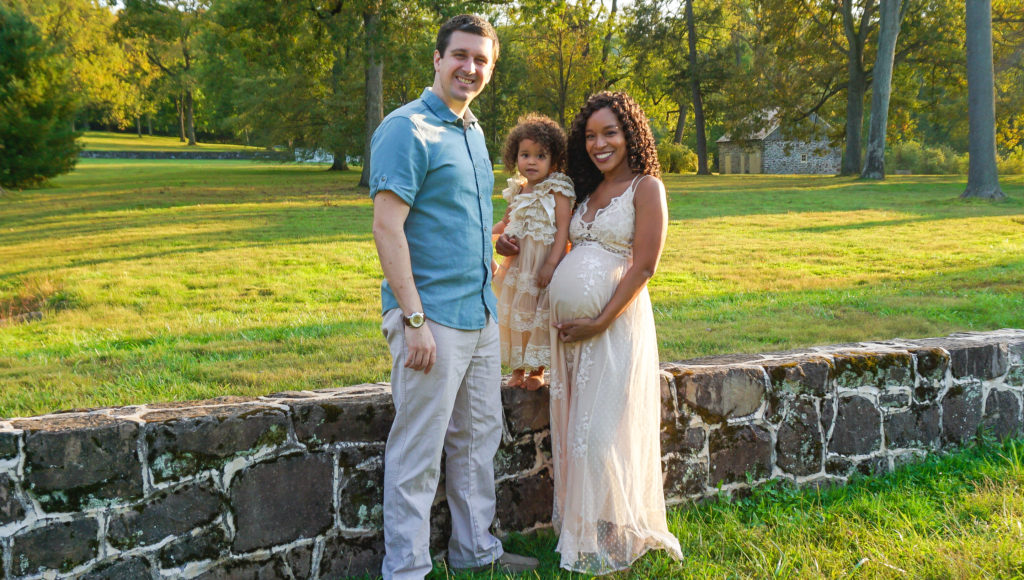
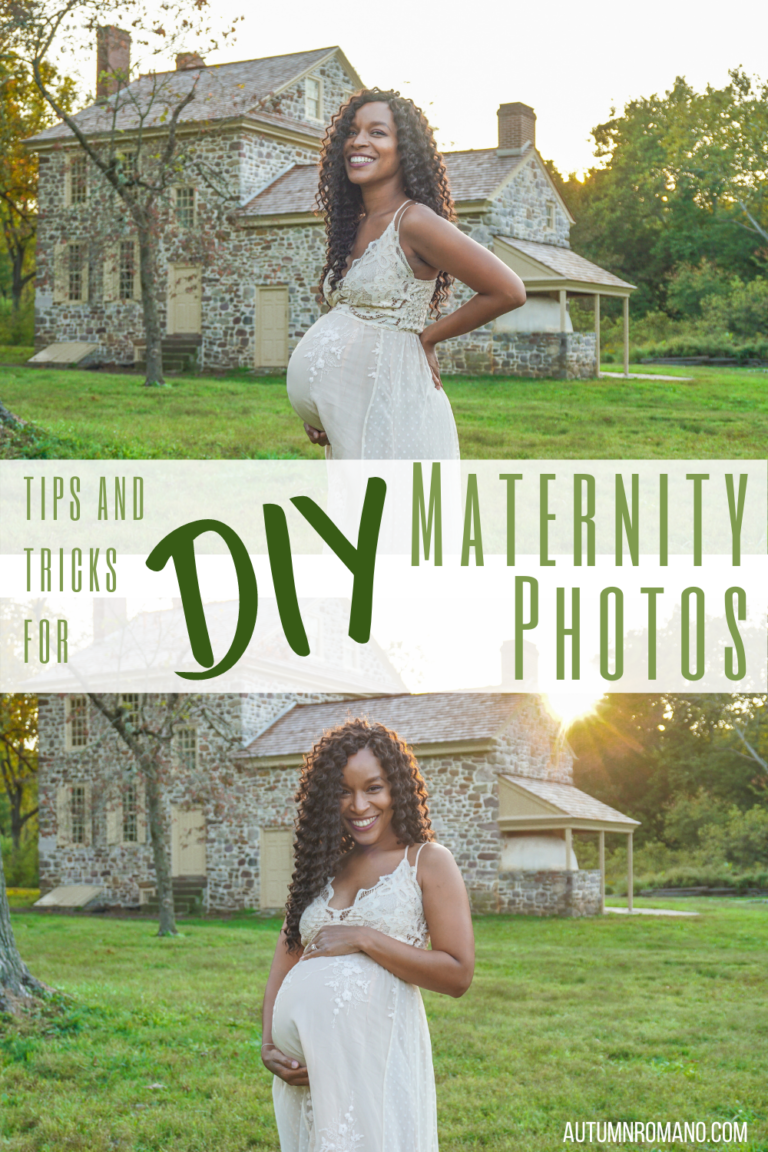
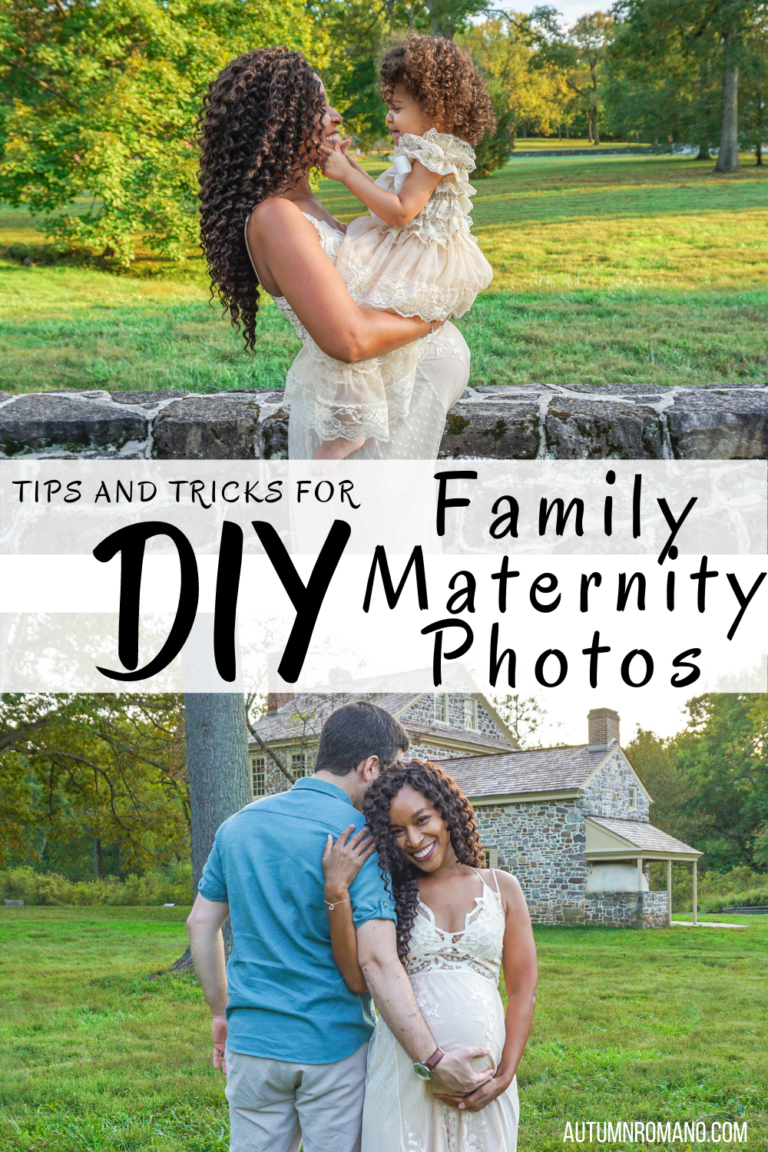
I will say, I got lucky with our outfits. I bought my dress (no longer available) from Vici over the summer with plans to use it for my maternity photos. It is not a maternity dress, but worked really well. As the date drew closer, I started planning what Evan and Elani would wear. I remembered that I had purchased a 3T-4T dress (also no longer available) for Elani when she was just four months old because it was on Posh Peanut’s clearance for $5.00. I pulled it down from her closet to find that it matched almost perfectly. Again, I got very lucky with our outfits. I planned poorly for Evan’s outfit though. I figured he would wear a short-sleeved white button down shirt and khakis. As we were getting ready, I realized that he did not have such a shirt. He ended up wearing a blue shirt, which was just fine, but I recommend laying everything out and making sure that you have what you think you will need, especially if you want to incorporate props.
Time and Location
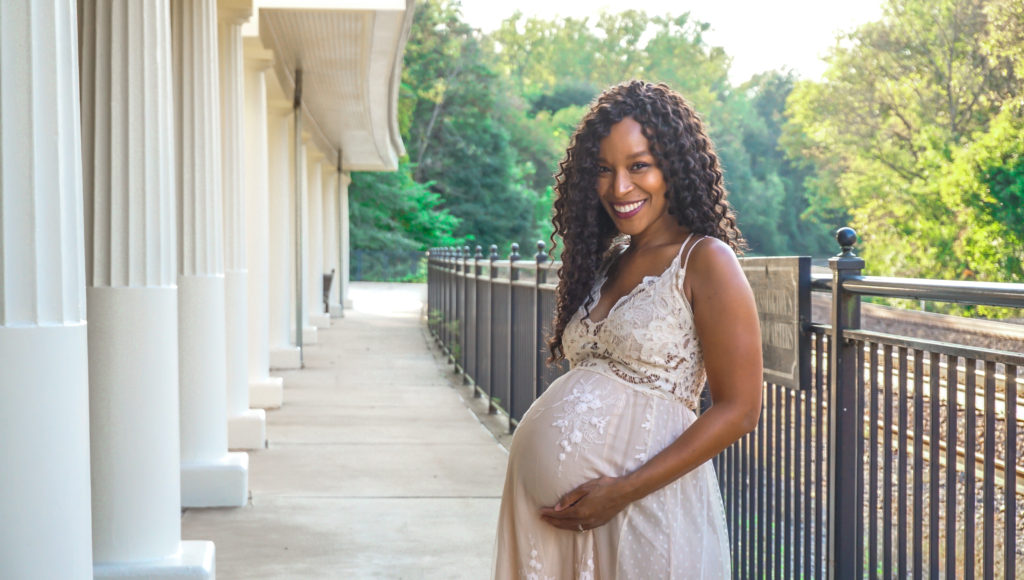
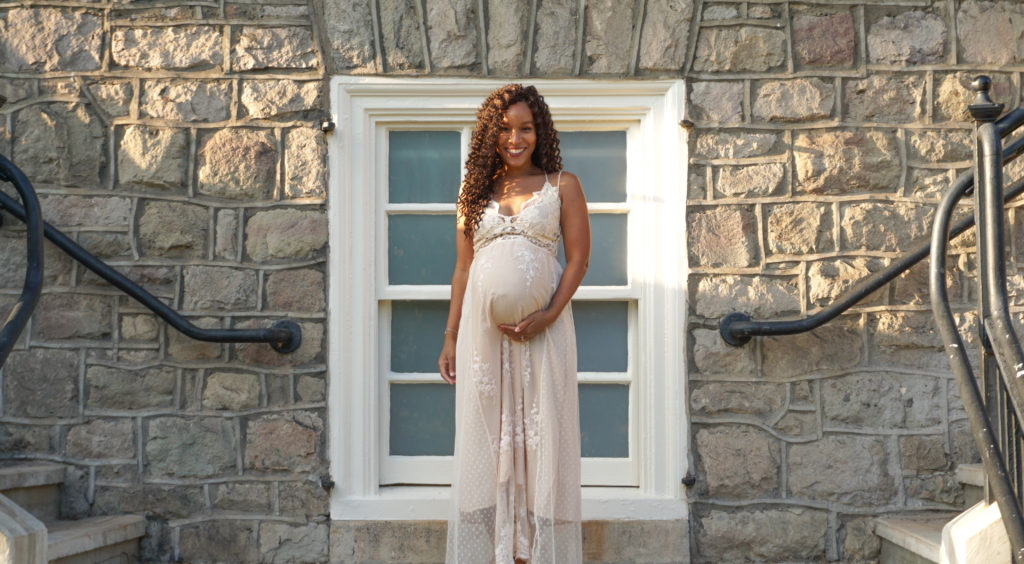
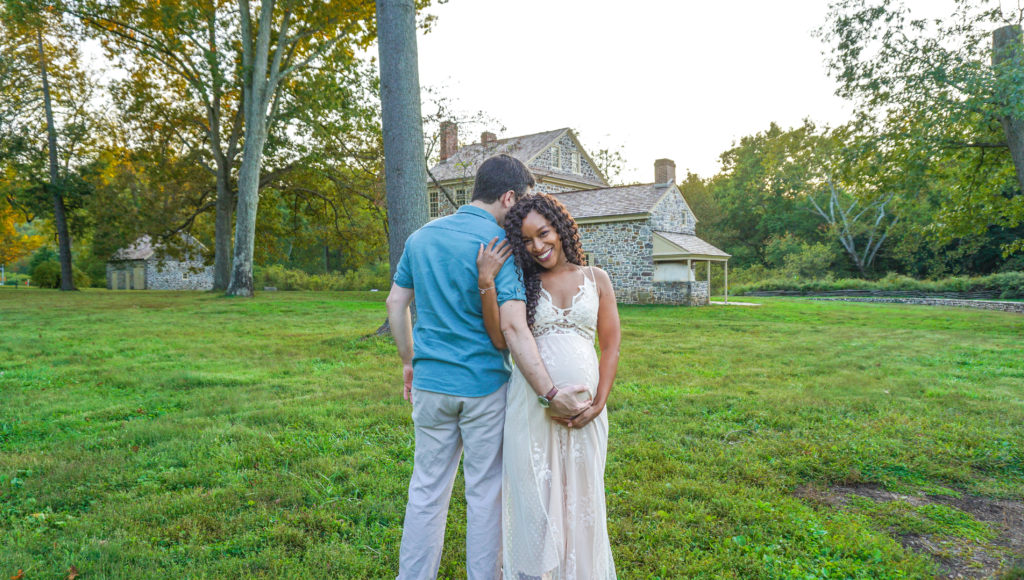
We are fortunate to live near Valley Forge National Park. I knew that I definitely wanted to shoot there, but I did not know where in the park would be best (it covers 3,500 acres). We had plans to scout a few different locations within the park, but we were fortunate enough to fall in love with the first location that we looked at. This one location had multiple spots for our photos. We also made sure to visit this location during “golden hour” (the last hour before sunset or after sunrise) to make sure that it got the great light that we were aiming to capture. For us, before sunset worked best so we started taking our photos about an hour and a half before the sunset.
Pick a Date
I wanted to take my photos about a month out from my due date. At the time that I took these photos, I was 33 weeks pregnant. For me, this was perfect because my belly definitely shows well in the pictures, but I’m also not at a point in my pregnancy where I am completely exhausted or uncomfortable. Once you’ve chosen your date, don’t forget to keep an eye on the weather! I’ve read that a cloudy day is perfectly fine, but we were very happy with a sunny day.
Get Help
It is definitely possible to take your pictures without additional help. Evan and I did my first maternity photos by ourselves with very little trouble. Since we wanted Elani to be in these pictures as well, we knew it would be best to have another person help us out. My brother (also not a photographer) helped us with our photos. When Elani was not in the picture, he kept her happy and entertained. When all three of us were in the picture, we set up the shot the way that we wanted and had him take the pictures. If you will be involving young children, I do recommend having an extra person. It made the experience a lot easier and more enjoyable.
Prep Your Child
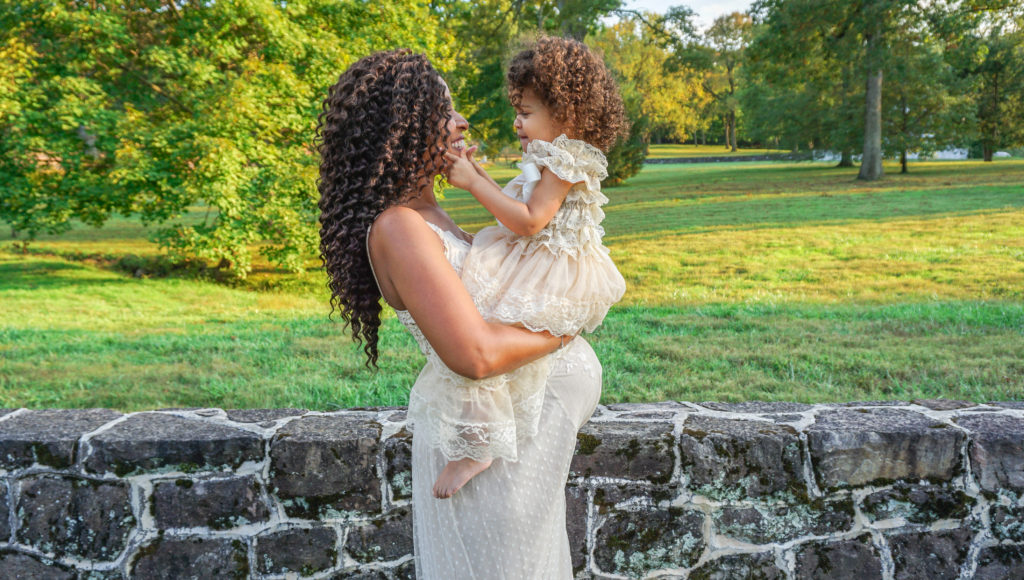
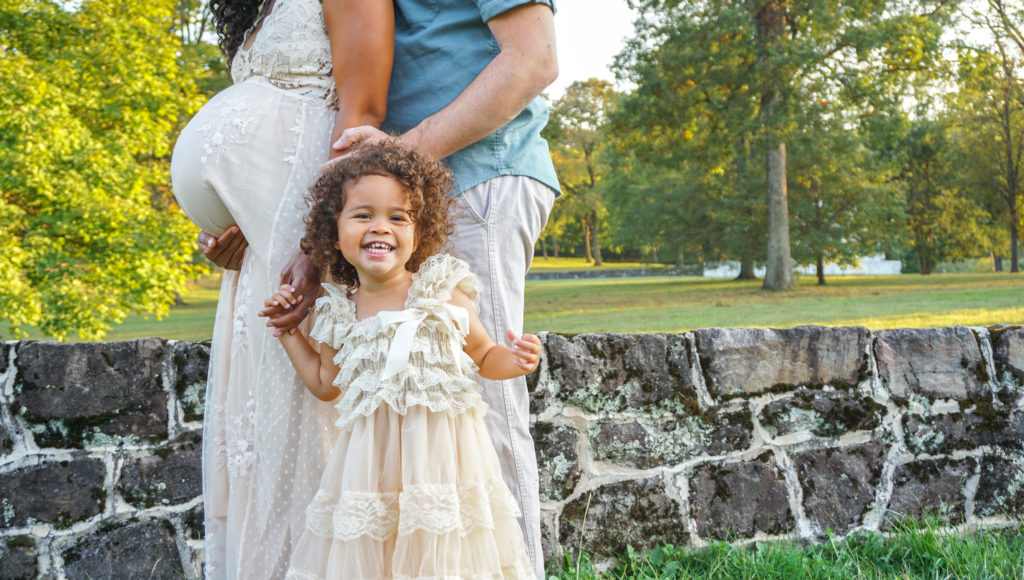
If you will have a young child or children in your pictures, make sure you consider them when planning. Elani is a great napper so, luckily, she napped well before the shoot (I took a nap, too). I made sure to bring water, snacks, and a ball. I changed her in the car when we got there so that she wasn’t uncomfortable during the car ride. I didn’t want to start the photos with a cranky toddler. When she seemed like she was over it, we allowed her to have a play break with my brother and Evan and I focused on shots with just me or the two of us. It’s so important to be flexible with kids!
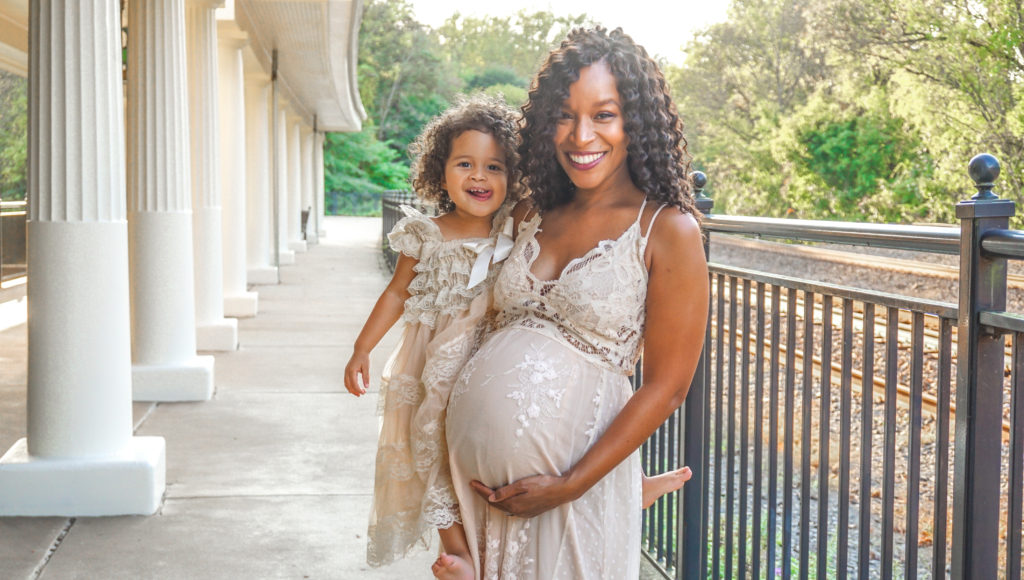
Also, don’t expect perfection. Honestly, some of my favorite photos are the ones that show Elani’s true, wacky, loving personality.
Learn Your Equipment
Though my camera worked just fine for our photos, I have been really wanting to get this one. I also shoot video , though. The two things that I love about both of these cameras are that they have a timer and you can flip the LCD screen. The timer is great for when you are taking photos without additional help. The LCD screen is great for the same reason. It allows you to see what the picture will look like without having to stand behind the camera. Another piece of equipment that we used for our photos was a tripod. The one that we use came in a bundle, with our camera. It is super inexpensive and very light for travel. You definitely do not have a spend a ton of money on a decent tripod. If any of your equipment is new to you, definitely take the time to learn how to properly use it. Now, there a ton of settings on my camera that I don’t know how to use, but I do know a few basics (setting timer, adjusting brightness, focusing, etc).
Editing
I am certainly no professional at editing my photos, but it’s something that I am learning and enjoying. I recently started using Adobe Lightroom and am having fun with it. I honestly just play with the settings until I like the way the picture looks. There are many tutorials on YouTube though if you want detailed tips!

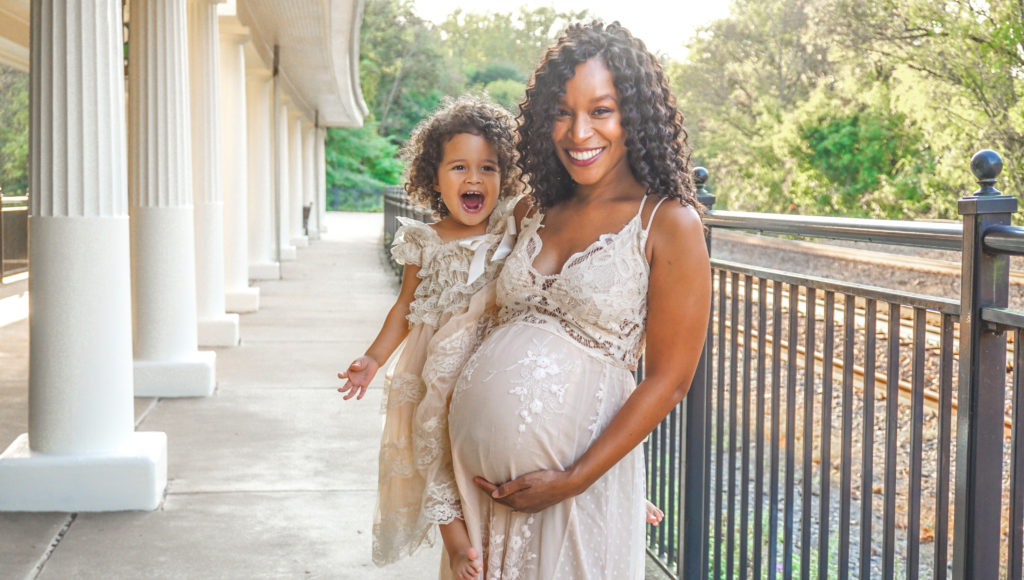
Shooting our own maternity photos a second time around was so much fun and I’m glad that we took on the challenge. Once the nursery is finished, I plan on doing a second shoot in baby girl’s room. I did that when I was pregnant with Elani and I love those photos as well. I hope that these tips and tricks help you with you future DIY maternity shoot. If you have any questions, make sure you leave them in the comments.


You May Also Like
Indoor & Outdoor Summer Activities for Kids
May 1, 2023
Outdoor Activities for Young Children
March 6, 2023